Part 1 - Base Normal Maps
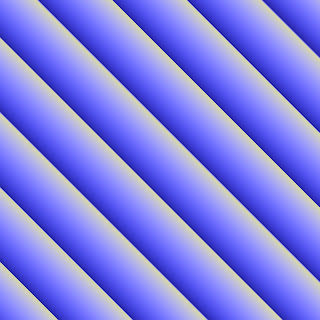 |
| 45 Angle Rope Normal Map |
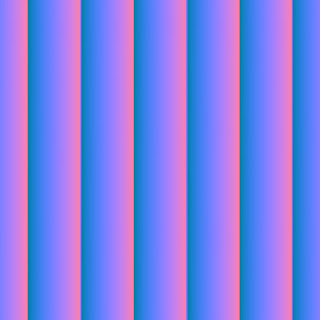 |
| 90 Angle Rope Normal Map |
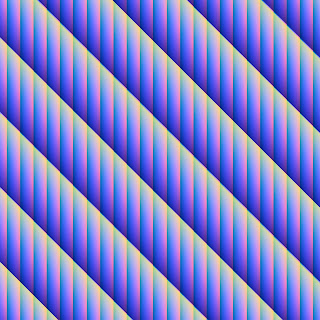 |
Combined Rope Normal Maps
|
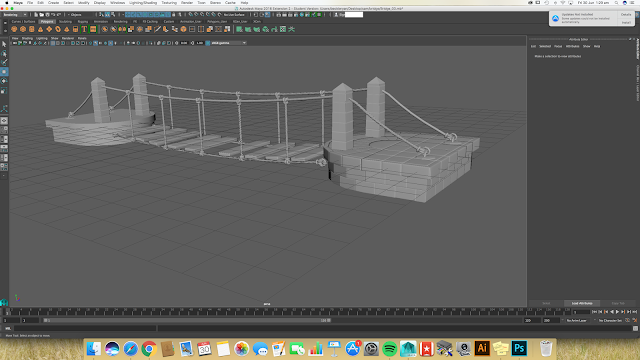 |
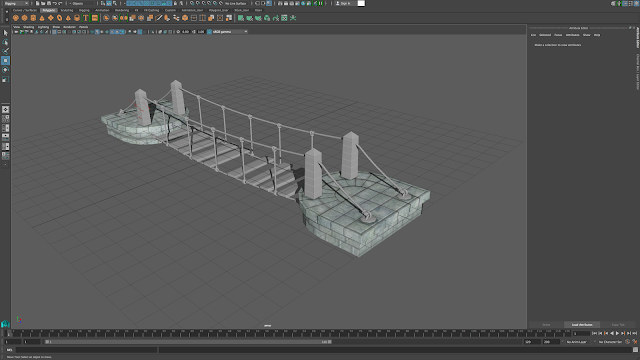
| Rope Normals Attached to Bridge |
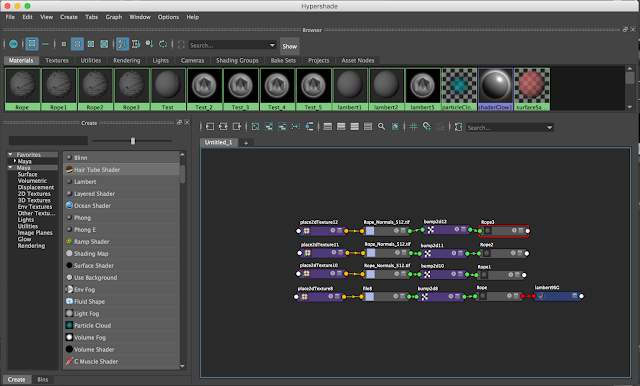 |
| Hypershade for Rope Normals |
I feel the rope normal map tutorial was a success. I think learning how to overlay normal maps using different blending options was interesting. I certainly think that the final combined outcome doesn't look too bad.
Part 3 - Ambient Occlusion Maps
The ambient occlusion tutorial took longer than i expected at my own error. This is because I didn't freeze the transformations before I export out the .OBJ files. Thus leaving me with a white Occlusion map. This has since been fixed and can be seen in the GIFs Above.
 |
| Part 4 - Base Diffuse Maps |
 |
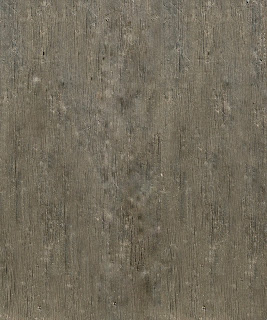
Part 5 - Stone Base Maps
|


Hi, where I can find full tutorial video?
ReplyDelete